
I first made and blogged about this delightful recipe a few weeks ago. However, the only photo I took was a terrible one with my phone, so I decided to revisit it for the blog when I made it again this weekend. This recipe originally came from Budget Bytes.
This time when I made it, I halved the original recipe, because I only had two bananas left. The ingredients and steps below are for the way I made it today. You can easily double this if you have enough 'naners.
Ingredients:
- 2 bananas (best if they're very ripe so they're easily mashed)
- 1/6 cup brown sugar
- 1 egg
- 1/4 tsp of salt
- 1/4 tsp vanilla extract
- 1/4 tsp baking powder
- 1/4 tsp baking soda
- 1/8 tsp of cinnamon
- 1/16 tsp of ground nutmeg
- 1 cup milk (I used almond milk)
- 1 1/4 cup old fashioned oats
- 1/4 cup of walnuts

First, I pre-heated my oven to 350 degrees.
Then, I broke the bananas into small pieces, and then mashed them with my potato masher.
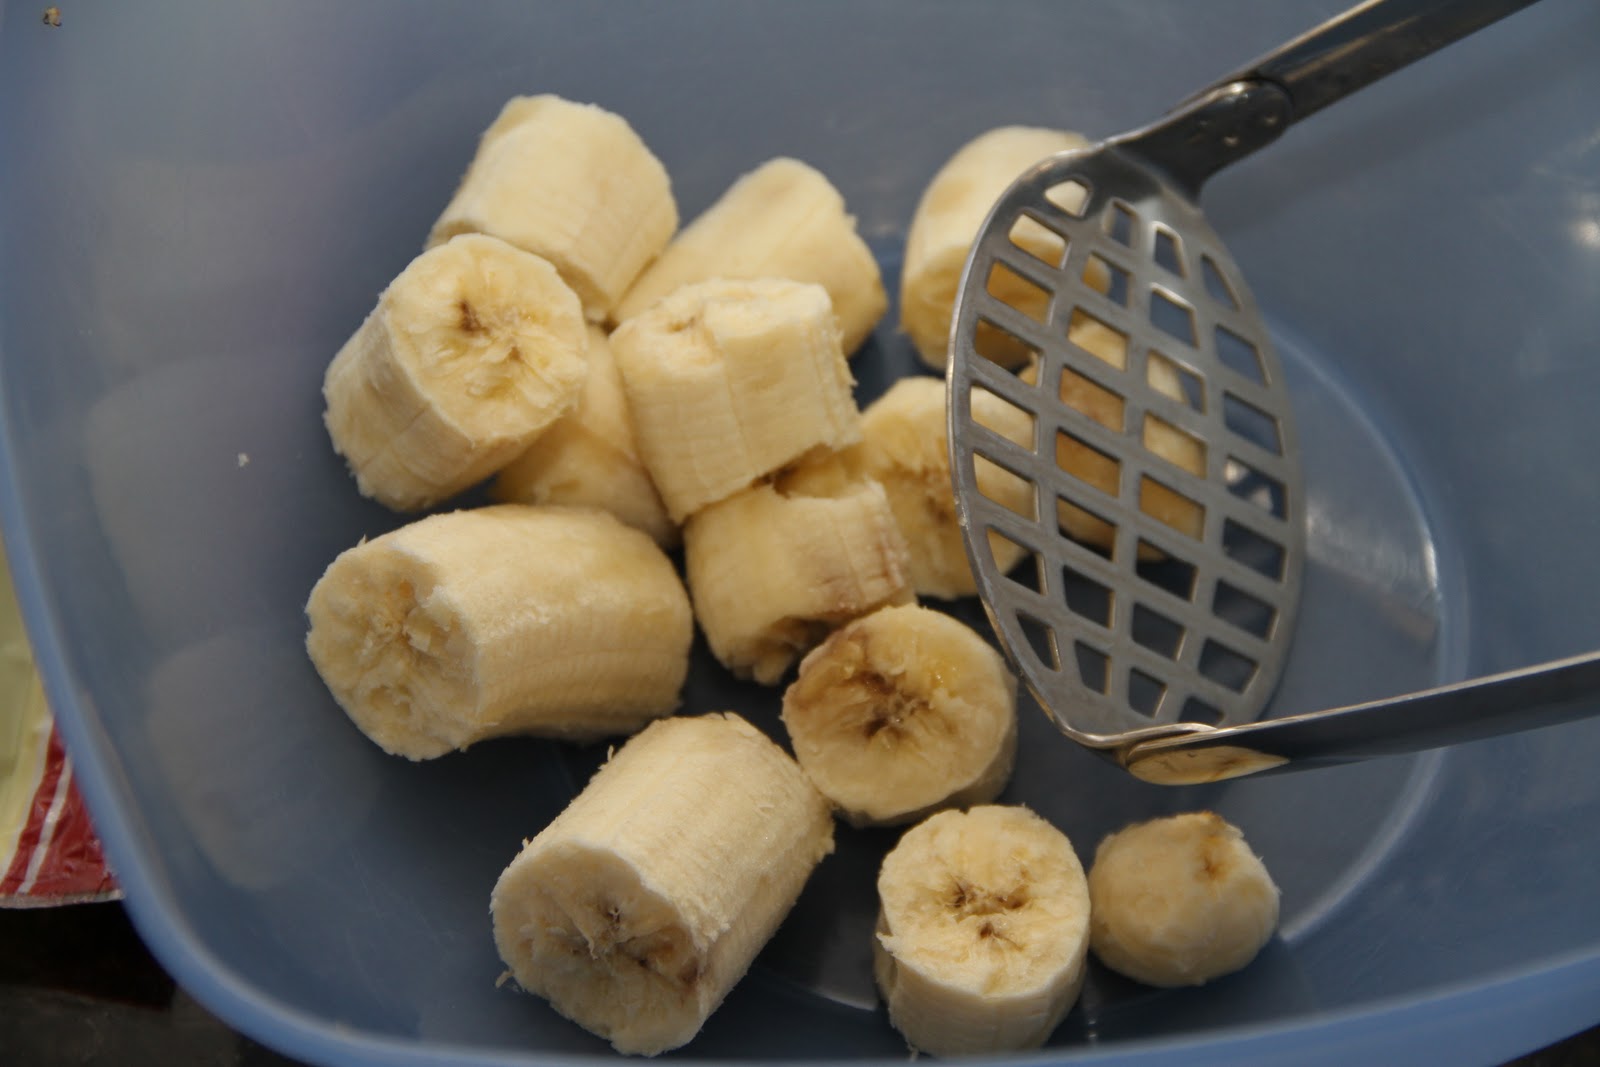
They were very ripe bananas, so they very easily turned into this.

Then I added the 1/6 cup of brown sugar (luckily, my 1/3 measuring cup has a convenient line to show its halfway mark), an egg, 1/4 tsp of salt, 1/4 tsp of vanilla extract, 1/4 tsp of baking powder, 1/4 tsp of baking soda, 1/8 tsp of cinnamon (filled about half of my 1/4 tsp spoon), and 1/16 tsp of ground nutmeg (I just eyeballed this with about a quarter of my 1/4 tsp spoon).

I mixed these all together thoroughly with a fork. (I've yet to buy a decent whisk, I've found that a fork usually does the job just fine.)

Then I measured out 1 cup of almond milk.

And mixed that in.

Then I measured one cup of the oats...

And about a quarter cup more of the oats.

And mixed those in as well.

Next, I took about a quarter cup of the walnuts...

And coarsely chopped them up into bite-sized pieces.
(Walnuts are really easy to just cut with a knife. No special chopper needed.)
Then mixed those nuts in with everything else!

Next, I sprayed some non-stick spray into a glass dish. (If you're doubling the recipe, you might want to use a dish with more surface area, like a brownie dish. However, I've doubled it in this dish as well. It just takes a little longer to get it to cook all the way through to the middle.)

And then pour the mixture into the dish.

I like to use this pie dish, because it has its own cover. If you don't have a cover for the dish you're using, cover it with aluminum foil.

Put it in the 350 degree pre-heated oven for 30 minutes.

After 30 minutes, take off the cover and bake for about 15 more minutes.

When it looks like this, with brown edges and a fairly firm top, it's ready!
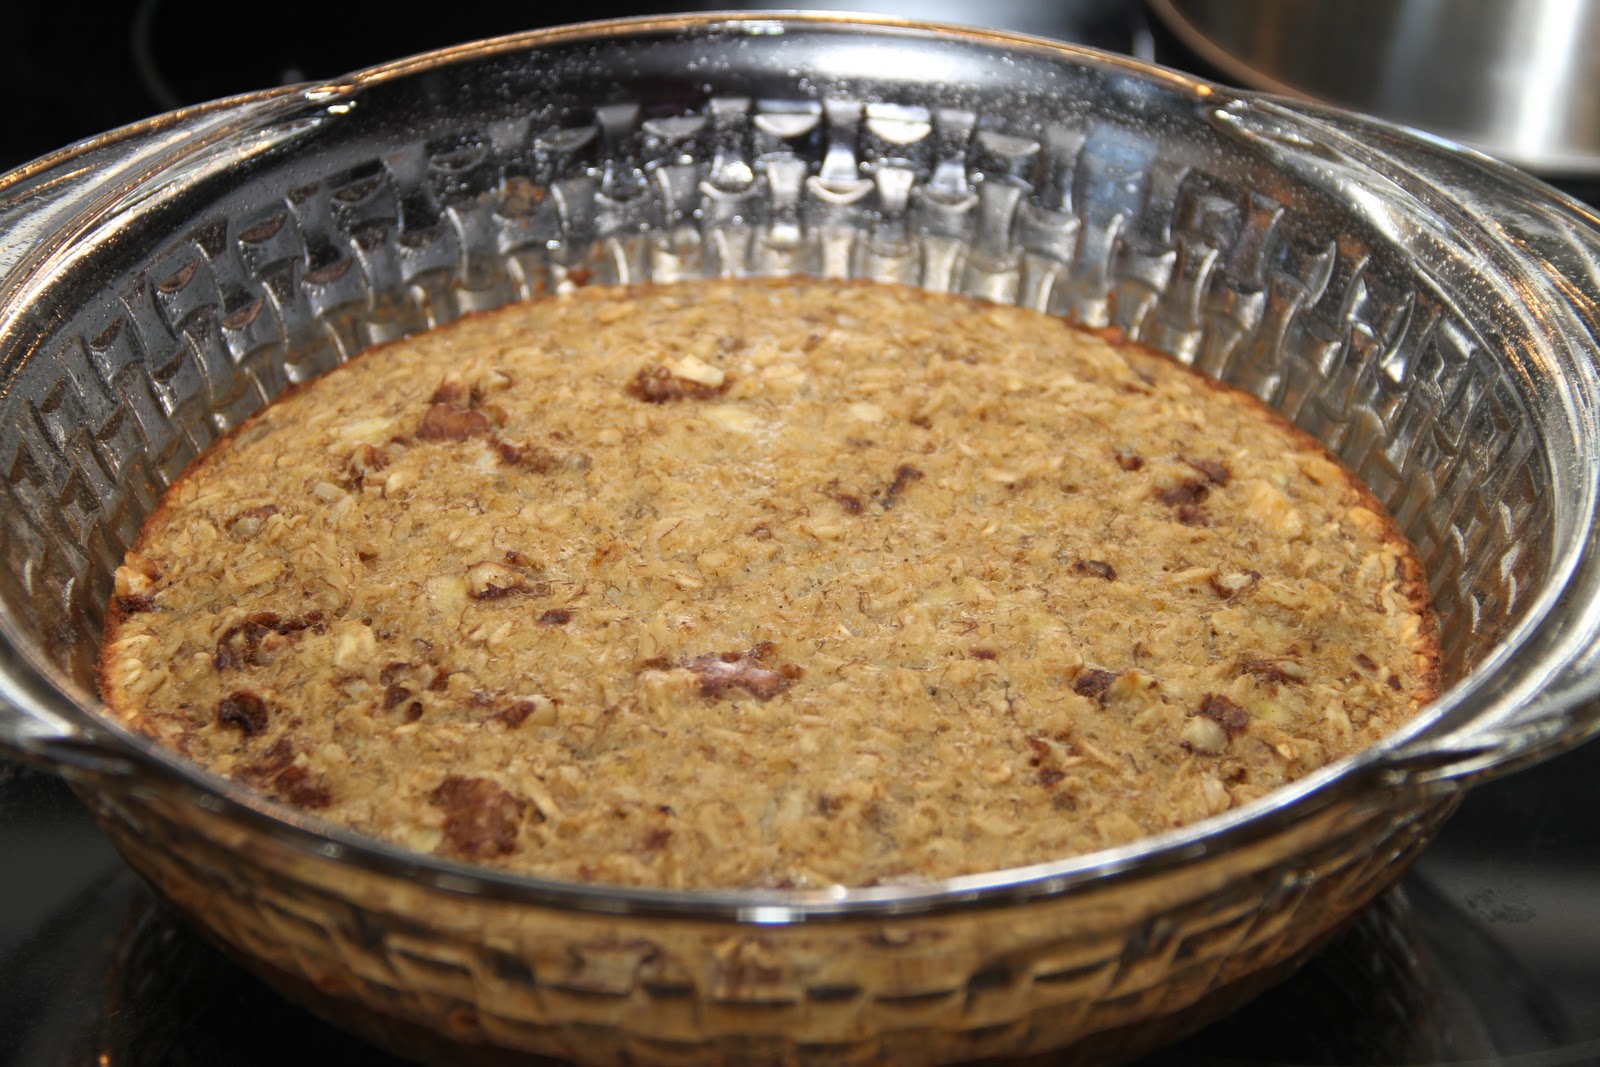
Almost looks like a big cookie from this angle!

And there you have it!

I love that it makes a few servings, so I can keep it in the fridge for the next few days for a quick, hearty breakfast. I re-heat it in the microwave to eat, but you could also just eat it cold if you like. I'm not a cold cereal sort of person, so that doesn't appeal to me.
Do you have any suggestions for other toppings or additions to this yummy breakfast meal?
Jacki, this was so good! It almost tasted like muffins...yum!
ReplyDeleteI agree! I haven't made it in a couple weeks - I need to make another batch soon!
Delete